


If I haven't said it enough I LOVE my dad! My parents came down so my dad could help get the plumbing and electrical moved around. Below is my husband working on removing the sink.

Code requires 36" spacing which was perfect for our new layout. You can see our new estimated placing for the shower, toilet, and vanity.


Next step was to finish ripping out everything, the insulation was way overdue and the floor was rotten from a leak. Since we had already ripped out the kitchen down to the subfloor this was a piece of cake...except we were dealing with a MUCH smaller space.

The floor didn't take long to put back in...convincing our college student "K" it was safe was another story. I think it was mainly the medications talking but he was convinced it wasn't safe to walk on. So glad we saved our baby gates, they came in handy not only keeping our children out but also reminding K that he couldn't enter the bathroom at night.

After getting the floor in our next goal was to get a light installed, using a lamp was getting old fast.

With this being a bathroom and prone to heavy water usage we wanted to make sure we took every effort to make sure the walls and floor resisted mold. We used Green Board for the walls (and later the ceiling) and concrete board for the floors and shower walls.
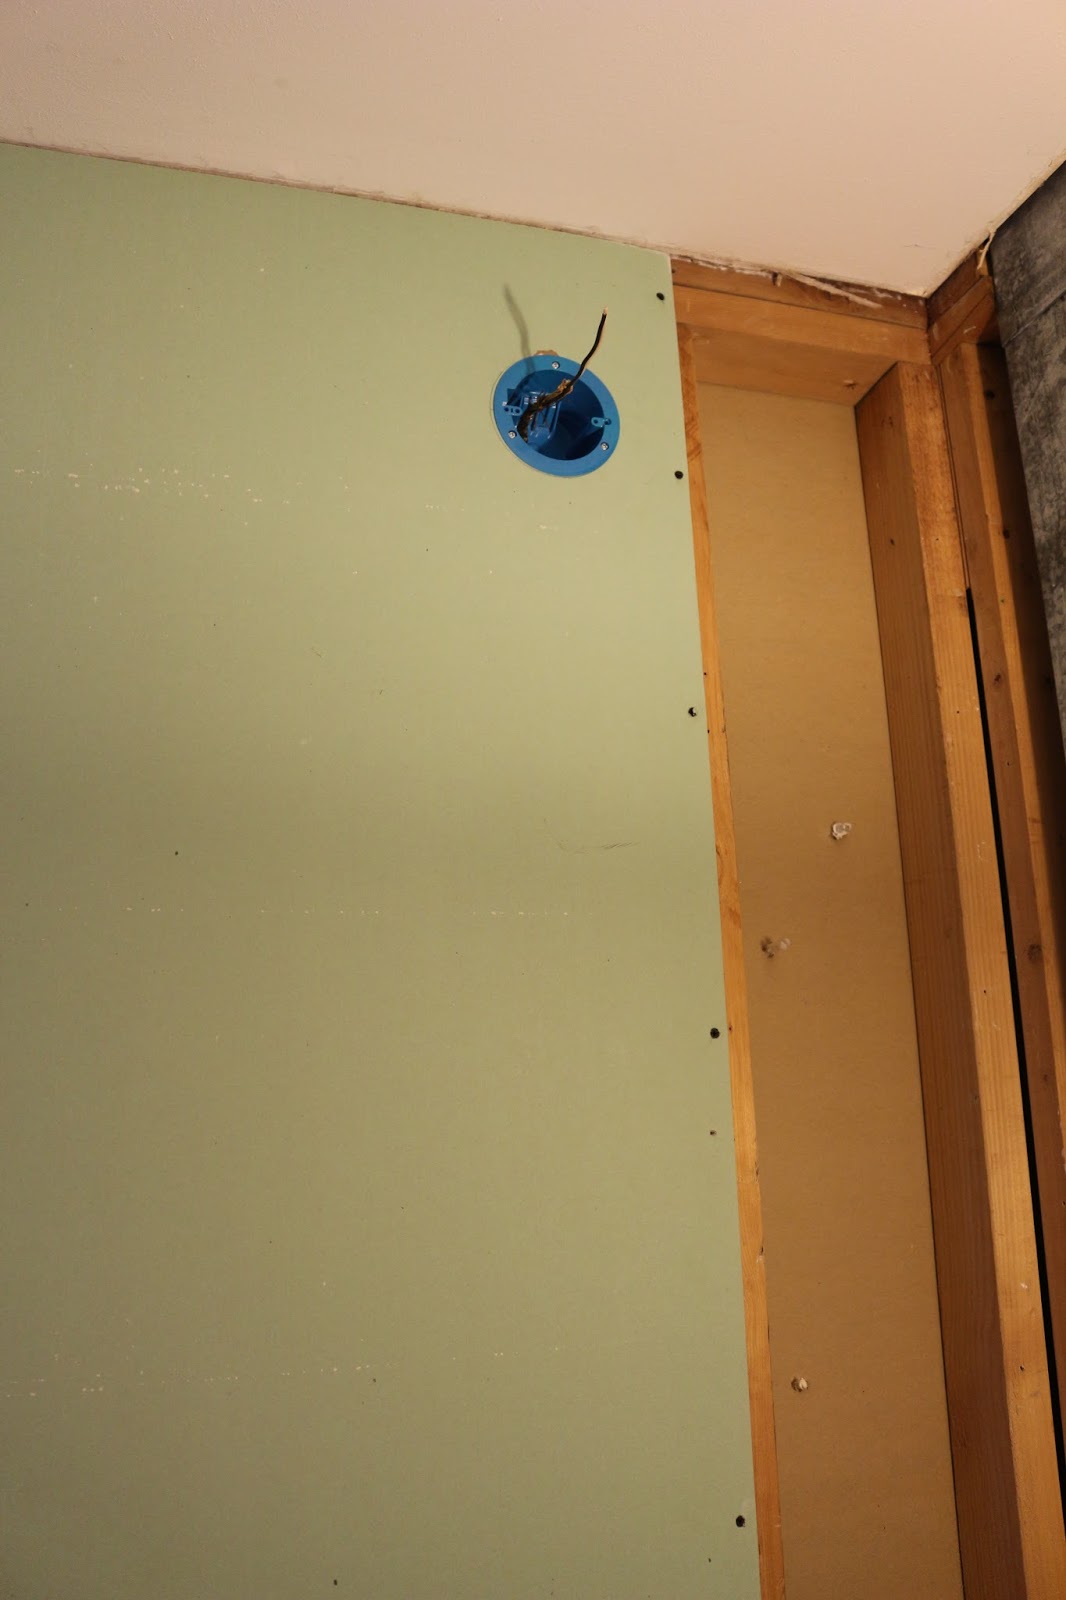

The heating vent was located under the window in the original bathroom but since the shower was going there we relocated it next to the sink near the ceiling.
We would have worked from the window and worked our way to the door but we needed to get the toilet and sink working so we focused on getting the floor first. We ended up going with Ivetta White floor tile. I only wish we would have gone with a darker grout, we thought it was darker but it lightened up quite a bit.


The waterproofing membrane rolled on a very light green but as it dried it became darker...

And Darker! We did do 2-3 coats to make sure everything was covered.

Shower walls coming together! Even though it has been a year since we completed this project I still get a bit giddy walking in and seeing the difference.

Mosaic tiles we found on clearance about 3 years before this being put to good use. We wrapped the window and used it as an accent in the shower niche.


Finished project! Ok so there is more to this story, after finishing the bathroom the only drywall we did not replace was the ceiling. What we didn't know is that the copper piping in the main bathroom on the 2nd floor had a defect and started leaking. Within 2 weeks of finishing the ceiling came crashing down, with a little help of us tearing in to see what the spots on the ceiling were. There were about 3 quarter sized holes in the copper drainage pipes. We replaced the plumbing with PVC and now have a new ceiling as well.


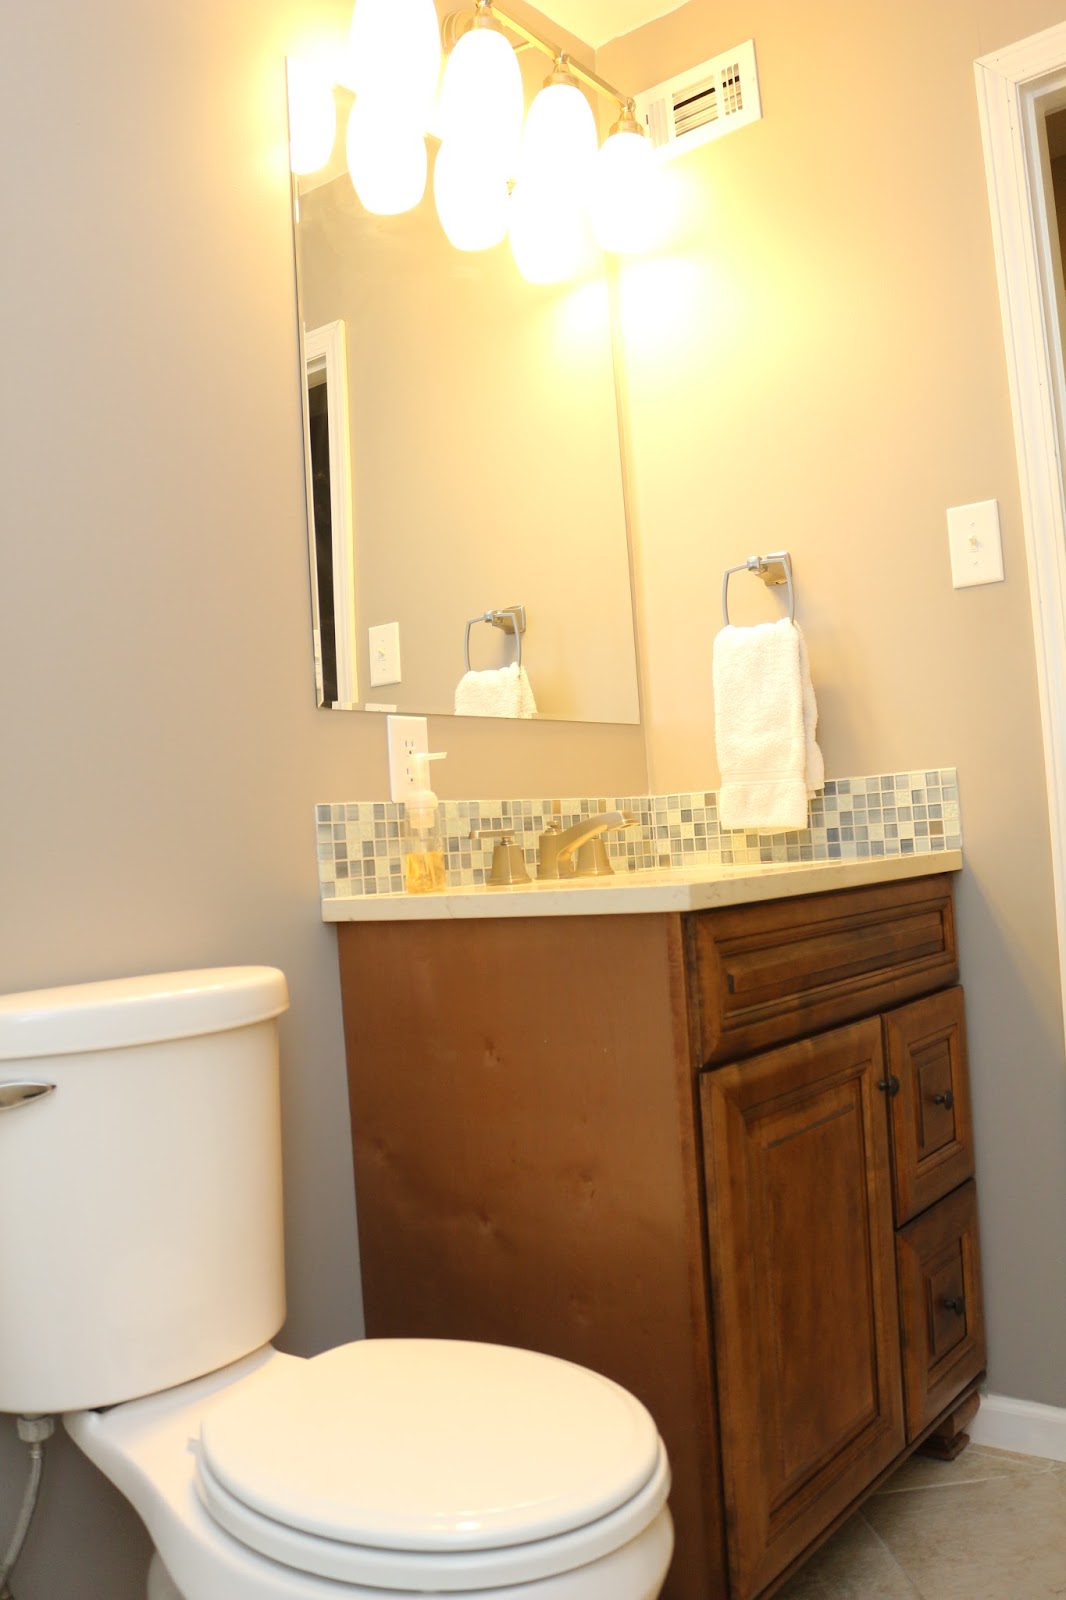

We still have a few more ideas for the bathroom but waiting until we redo our master bathroom to add the glass shower panel. Even with extra plumbing and drywall work we ended up coming in right under our budget.
Let me know what you think!
No comments:
Post a Comment