Monday, June 10, 2013

Weeks 2-5 of Kitchen Remodel

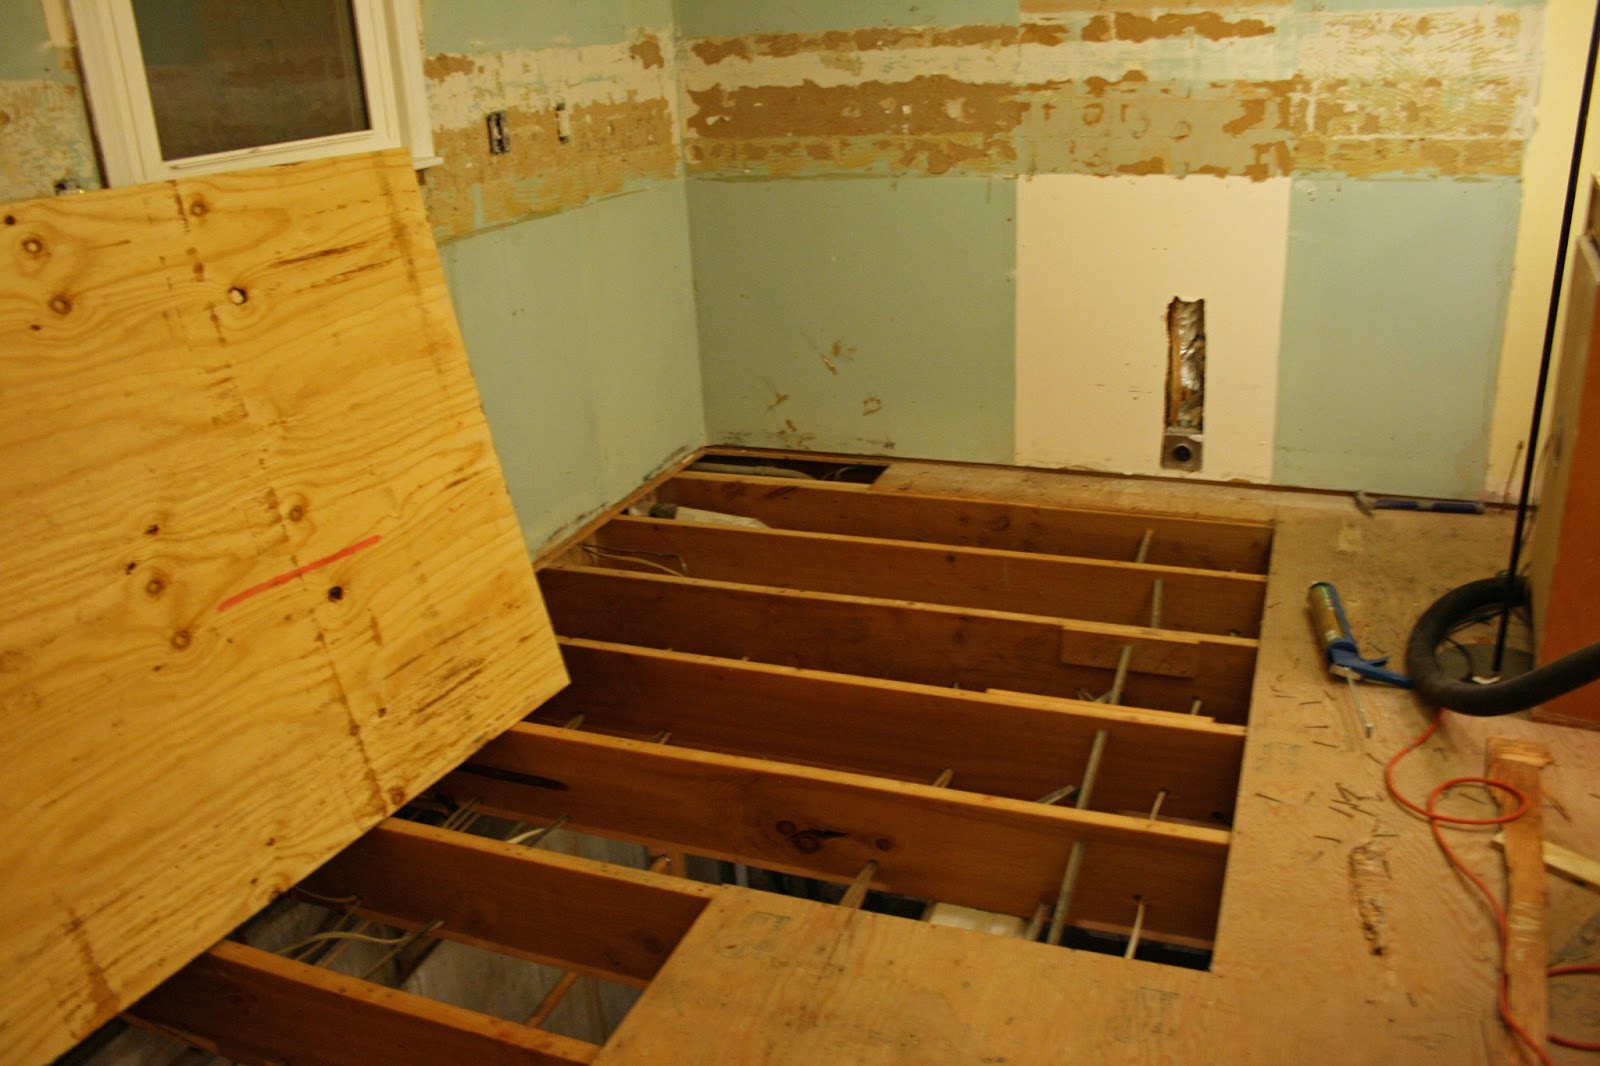
The first week of demolition went pretty good with only a few hiccups but when we got to the underlayment and subfloor this last week it has been miserable. The subfloor definitely needed replacing especially after we got the underlayment pried up.


It took a week to lay the subfloor mainly because we had to be careful with the open sections. We have learned a lot about the different ways to construct a house. Some builders use rafters as duct work for return air. To know that in 1962 the standard was nailing your 1/2" subfloor while now they recommend screwing at least 5/8", yet knotted wood was not preferred and now your plywood is chalked full of them.
He found a gap to spy into the basement
The following week was installing can lighting. Started out only going to have 6 lights and ended up with 8. The recessed lighting helps give a taller ceiling effect  with such a long narrow room it needed it. This is the week our new fridge arrived :) It may be sitting in our living room waiting to be plugged in but we all can't wait to get it in the kitchen.
Late night of wiring lights

Lights in and drywall down
We did end up taking almost a full day break from the kitchen to work on other parts of the house. My parents came and helped us put jacks in the basement. Someone before us had cut out some major support pillars causing the house around the stairs to sag. It is very nice to know we don't need to worry about that any more. Dad also helped add a few extra outlets. I say a few but on one wall there had only been one behind the fridge and now we have 4 more on just that wall!

Now the kitchen is insulated! 
Mom also helped me work on the flowerbeds, something that would have waited until next year if not for her. I keep them cleaned out but the drought last year killed all of the bushes in the front. I like the looks of annuals but don't want to mess with buying something every year just to dig that same hole and replant it. I found some gorgeous perennials and split up our lillys that were large. In the end I still used some annual flowers in our large pots and my mom did some around our trees but we didn't spend an arm and leg on them and they look very nice. In fact our entire flower bed and a few plants out back ended up only being $65 and bought about 20 plants.

Week 4 was putting up the drywall. Very time consuming but really brought the room together. Mudded and sanded many times, painted the ceiling and walls. Very exciting since much of the week was consumed with graduations, showing property, writing offers, work, and kids.

We had great little helpers
Painted, all but 1 wall luckily it will be covered with cabinets and backsplash. Next time 2 gallons of paint needed.

Week 5 has been hard, stormy weather daily which is not ideal for mixing thinset let alone carrying in the hardyboard.


Here is a sneak preview of what we did for the rest of week 5 and beginning of 6:

 Cabinets arrived on May 21! A day of excitement especially for the boys who made forts while we installed the contents.
Until next time...

Thursday, May 2, 2013

Kitchen Remodel

It seems that we are happiest when we are the busiest despite what we say or wish as we go. Last month was our trip to Florida where it was cold (er than we hoped) but perfect for sight seeing... to bad my kids became sick on the way down and we didn't get to do much of that. Instead the week was spent inside our room while my husband was working, that is how sick they were.

This was our one good day, it was the end of the day so our oldest was grumpy.


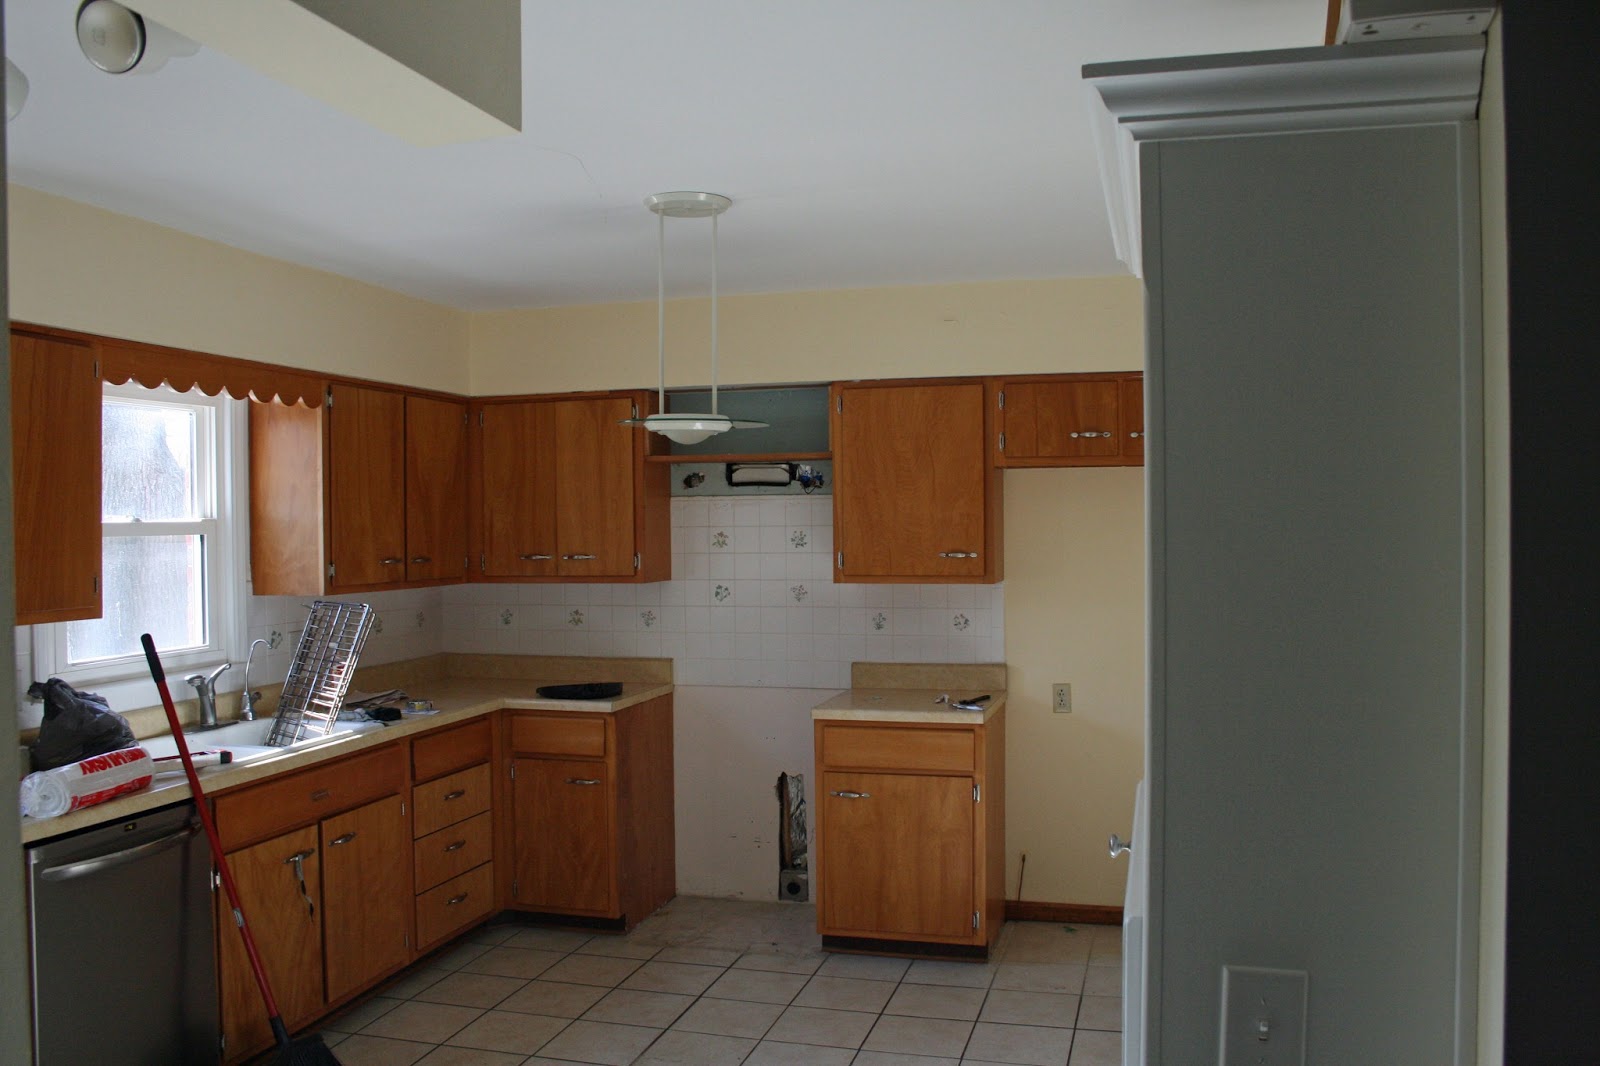
This month is remodeling our kitchen. We have decided to gut and start over. We were beginning to think it was a mistake until we got the cabinets pulled and noticed all of the "shortcuts" made by those who previously did a quick remodel job.

We have already learned so much just from getting cabinet quotes. Make sure to talk to several people, we had talked to 3, one kept putting us on hold (8 weeks), next answered right away but was very high and later learned some things about the design that would have had us frustrated with the end result, number 3 fit close to our budget but looked like an updated dated kitchen. We went back to number 1 but talked to another representative with amazing results. It wasn't the design of the second consultant but he took us through every choice personally making sure it would be something we would be happy with in the end. For instance we will have to move the fridge if we want to go with one larger than 30 in wide. This is where we were really confused and doubting because everyone else left it in the same place and said we could do a 36in fridge but he took us and showed an example that if it was in a space that size in that location we would never be able to pull out the fridge drawers without pulling the fridge out every time. That was just one of many things he showed us, it really is important to test out how you will reach in and store things in your cabinets. In the end we ordered our cabinets which should be here in 3 more weeks...EXCITED!


In the mean time we are prepping the kitchen by well gutting it. Cabinets took all of Saturday because we had to stop to get some equipment to deal with our plumbing. We are still living in the house so we need water and the current plumbing does not have a shut off valve for the kitchen sink, it will once we are done though. Plus our kids (5 and 2) try to be helpers which of course adds more time to get them interested in something else or to let them help with something not so dangerous. While my husband worked on getting the sink disconnected I tore out the old back splash, removed trim, and peeling paint.


Next to the wood door and on the soffit you can see some of the paint that I have already Scraped. 
Maybe I should explain our house was built in 1962, not terribly old but yet old enough that paints have changed and if you mix oil and latex paints the walls will begin to bubble and crack. The sheet rock is in great shape for the most part only damaged at the parts that are flaky yet the oil layer is sticking. We had to scrape and redo most of our living room, luckily a large portion of this is on the soffit which is coming down.


Make sure to cut a hole somewhere hidden yet gives you a great view of what is inside the soffitt. We were very lucky and it was empty all wires were in the wall. It took a little elbow grease but my husband got it down within a few hours.

Tonight we started to really work on pulling up the old tile. We were hoping that we wouldn't have to rip up the tile to get to the underlayment but since it was screwed down (the proper way) we have to pull it all up before trying to find all the screws and hopefully unscrewing them with success. We ended up getting about half the room done with a few cuts here and there but nothing major.

It is pretty much on every site with information of how to rip up ceramic tile but here is another reminder be VERY careful. It does not just pop up it explodes into teeny tiny pieces. The best way to avoid it is to use caution with every blow and keep your work area clear of debree.


Sunday, February 3, 2013

Space Themed Birthday Party

My boys birthdays are 2 days apart, this year we threw their party at the same time. Mainly because we have a rule that they are allowed to invite one friend for every year they are and the family. This is a huge bonus to us because it so happens that the kids my younger son would invite all have older siblings that are my older son's best friends. It is also our excuse to have other adults over. Sorry for the background but its why we combined their parties, easy on mommy's life. That and there are only a few days around Christmas that people can get together. Maybe I left that part out... Yes, not only are my boys birthdays 2 days apart they are joined with Christmas smack dab in the middle. For 3 days it is non stop excitement in our house.

6 months before I asked my sons what they wanted to do for their birthdays, science birthday party. It took a few months, lots of time on pinterest and then narrowed it down to space science party in other words...Astronomy. My boys love the moon, stars, and planets so it was perfect but very hard to find supplies/ideas without aliens or being all about astronauts and rockets. All they wanted was the solar system. Luckily while not finding exact ideas I was able to gather a few of my own and being on a tight budget was able to throw a party for under $50.

We had plenty of white Christmas lights on hand so I circled them around the chandelier to make the MilkyWay. There would have been more but time and getting dizzy we knew it was enough. Just used scotch tape to hold them up so I didn't damage the ceiling.


By the way I did check all the lights before I put them up and once they were up the center ones shorted out...amazingly they began working again the night of the party.

I bought some tulle in red and yellow, didn't want to block out the light from the chandelier, and gathered it at the top to create the sun. If I knew that the Christmas lights were going to be so bright I could have went with a thicker fabric but it worked out well.


My younger son LOVES the moon, his cake was a grayish moon. Part of the fun for their parties is that I let them help through out, so the cakes may not be perfectly smooth or may have finger prints its okay because it is the time spent with them. I used a half ball cake pan to make the cake.


My older son is into it all but since we have been traveling a little more this year he has been big into maps. His cake was the earth so he could put continents and even a volcano on the cake. I used a full cake mix and ball cake pan.


Its always after the fact that you realize that you should have taken more pictures at different angles. Hopefully on another card or phone I may find the back side of the earth.

I was very tempted to add Pluto back in as a planet but I know I would have confused the kids. The other 7 planets were cake-balls covered in candy melts. Mars, Saturn and Jupiter were covered in butter-cream and the rings were pull-n-peel Twizzlers.


We had candy rocks for asteroids  foil wrapped candy for moon rocks, and best of all after Christmas sales had Lego packs marked down to $1 so we picked up a bunch of star war themed packs for take home gifts. And plenty left for stocking stuffers for next year as well. Right before the party we added some Galactic Gas for punch (lime sherbet and Lemon-Lime soda) it turned out really good.


 For dinner we served homemade individual space pizzas. The kids had a lot of fun and clean up was easy, and everything we used can be reused later. That makes for one happy mommy.